• Home
    • Book Design
    • Marketing Design
    • Additional Design
    • Art Gallery
  • blog
  • Store
  • about
  • contact
Menu

creativelytara

  • Home
  • Portfolio
    • Book Design
    • Marketing Design
    • Additional Design
    • Art Gallery
  • blog
  • Store
  • about
  • contact
×

Tall Ceramic Witch

Tara Raymo February 25, 2016

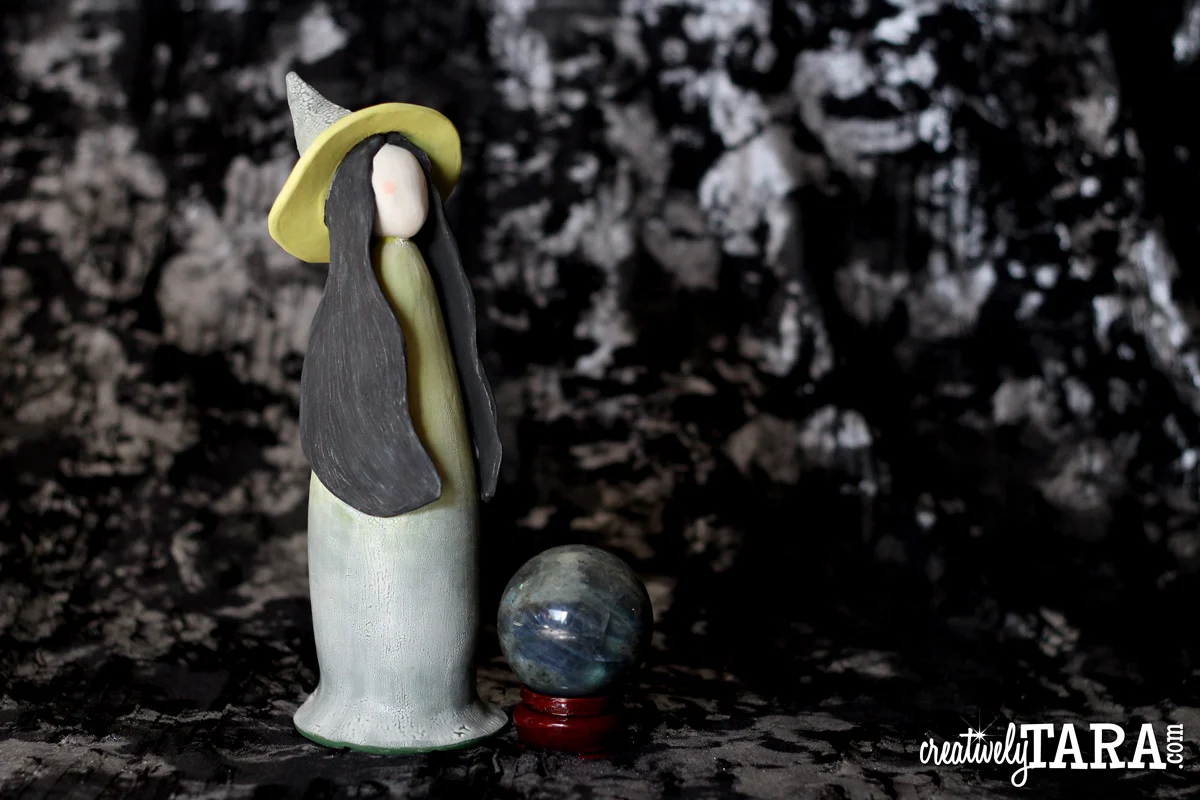
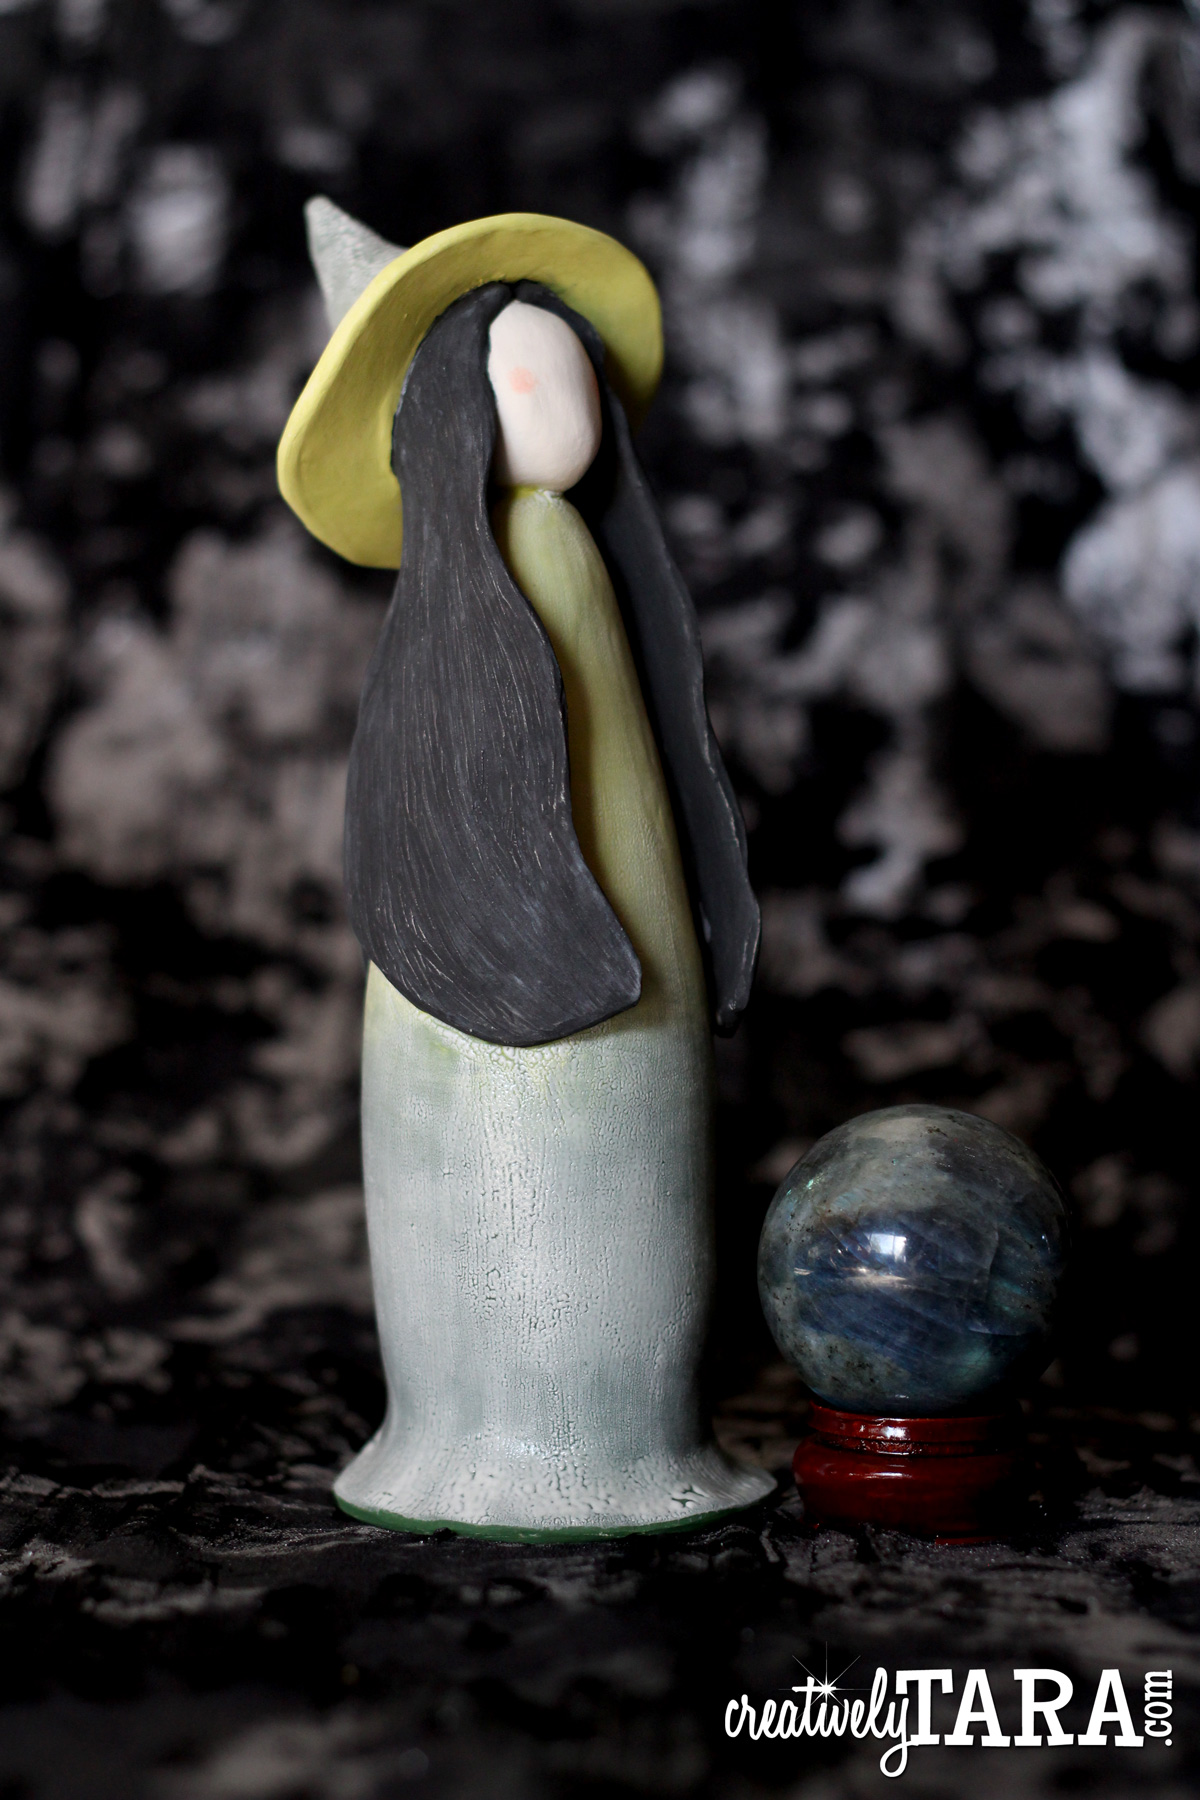
I started this witch back with the smaller kokeshi style witches. My inspiration for this was the ceramic angel sculptures you see everywhere, and I do love Halloween so why not a witch. This one is a bit taller at about 11 inches high. I gave this one to my sister as a birthday gift, and she loved it.
This post contains affiliate links from Blick Art Materials, I get a small fee when you purchase from the links.

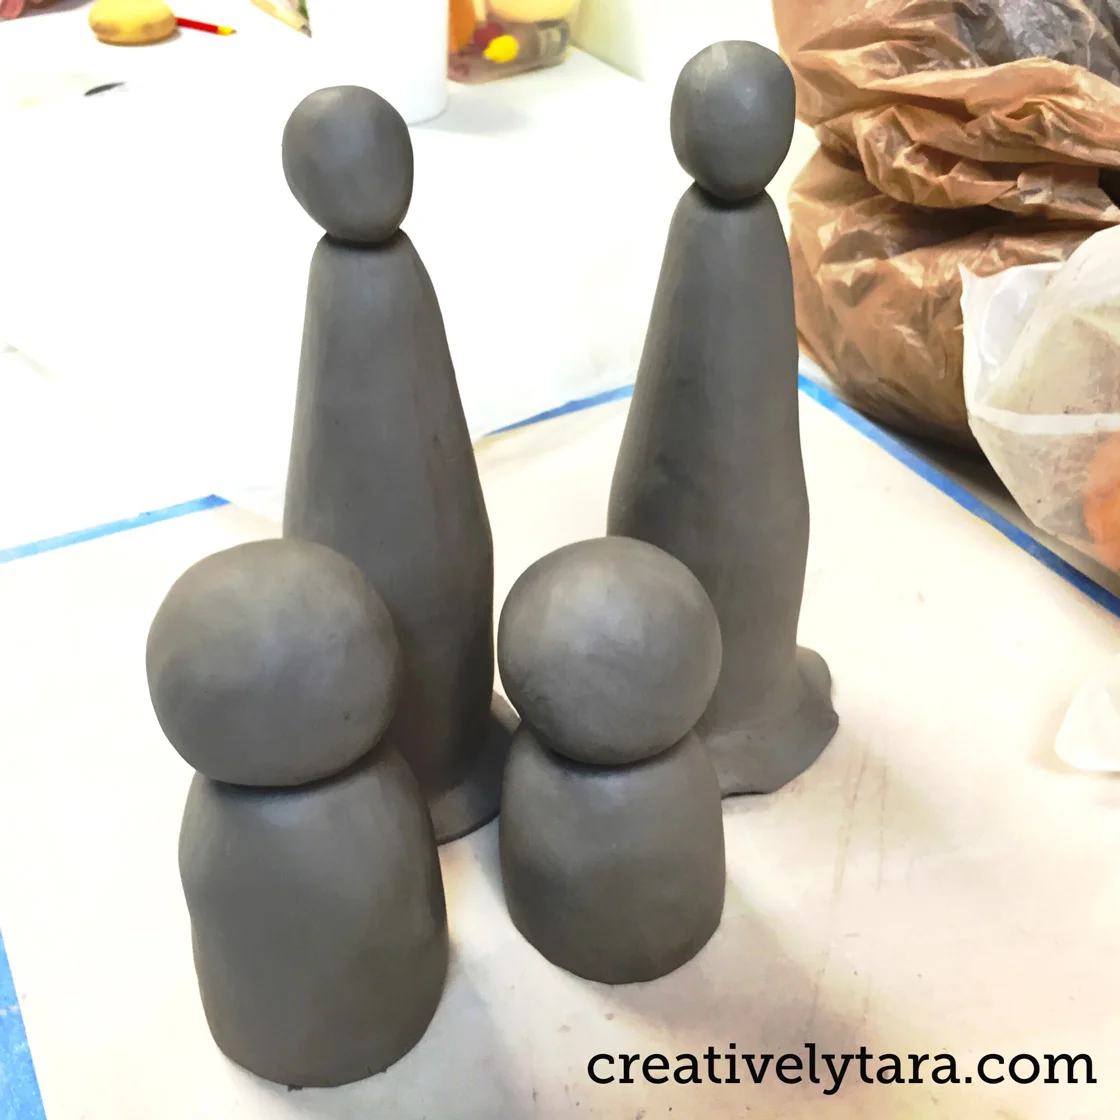
The following photos are of some the progress of building these. I really should take more photos as I am building but your hands get quite dirty working with clay. To build the bodies I used the extruder at the clay studio Peacock Clay Collaborative. Then I had to cut out darts and mend them back together to create the tapered effect towards the top of the body. For the heads I just molded some clay in a small ball and got it to the shape I wanted and then hollowed them out.
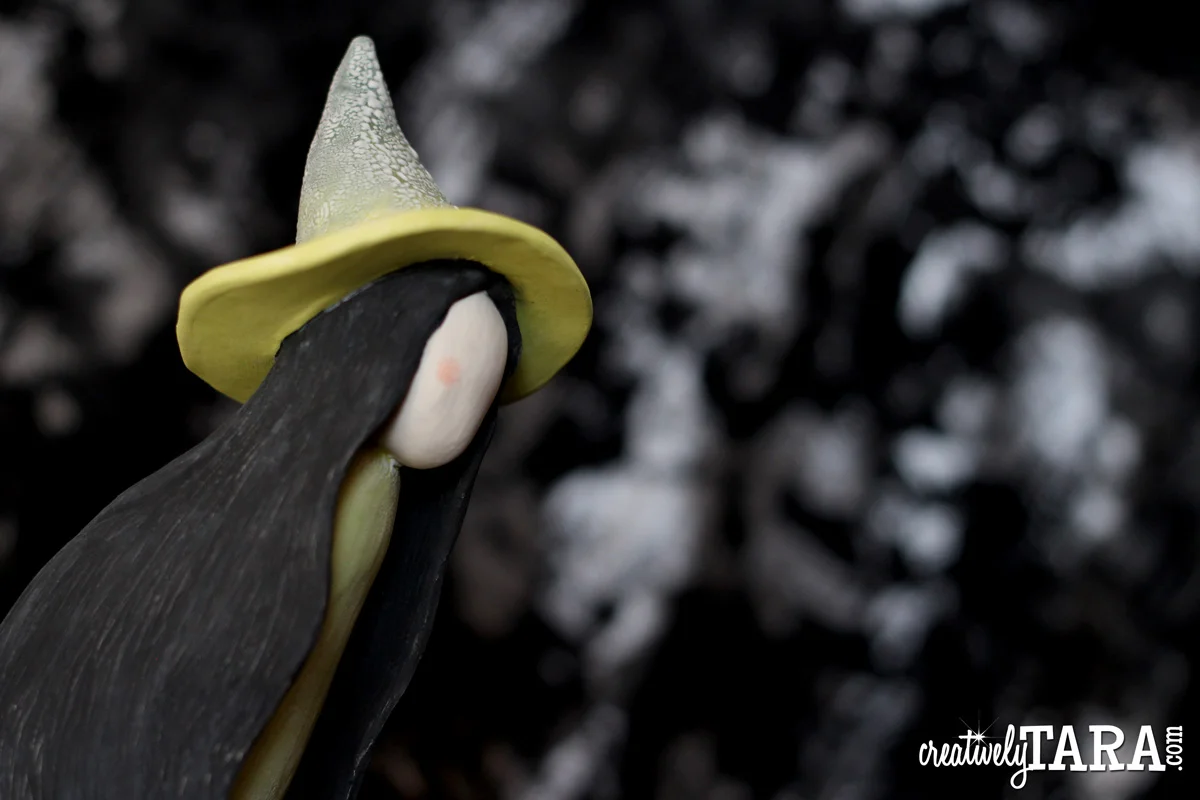
This is after I finished building it. The devil angel on the left I still need to fix because one of the wings broke off, which I am going to have to paint it with acrylic paint. Here you can see I added some hair and the hat on the witch.
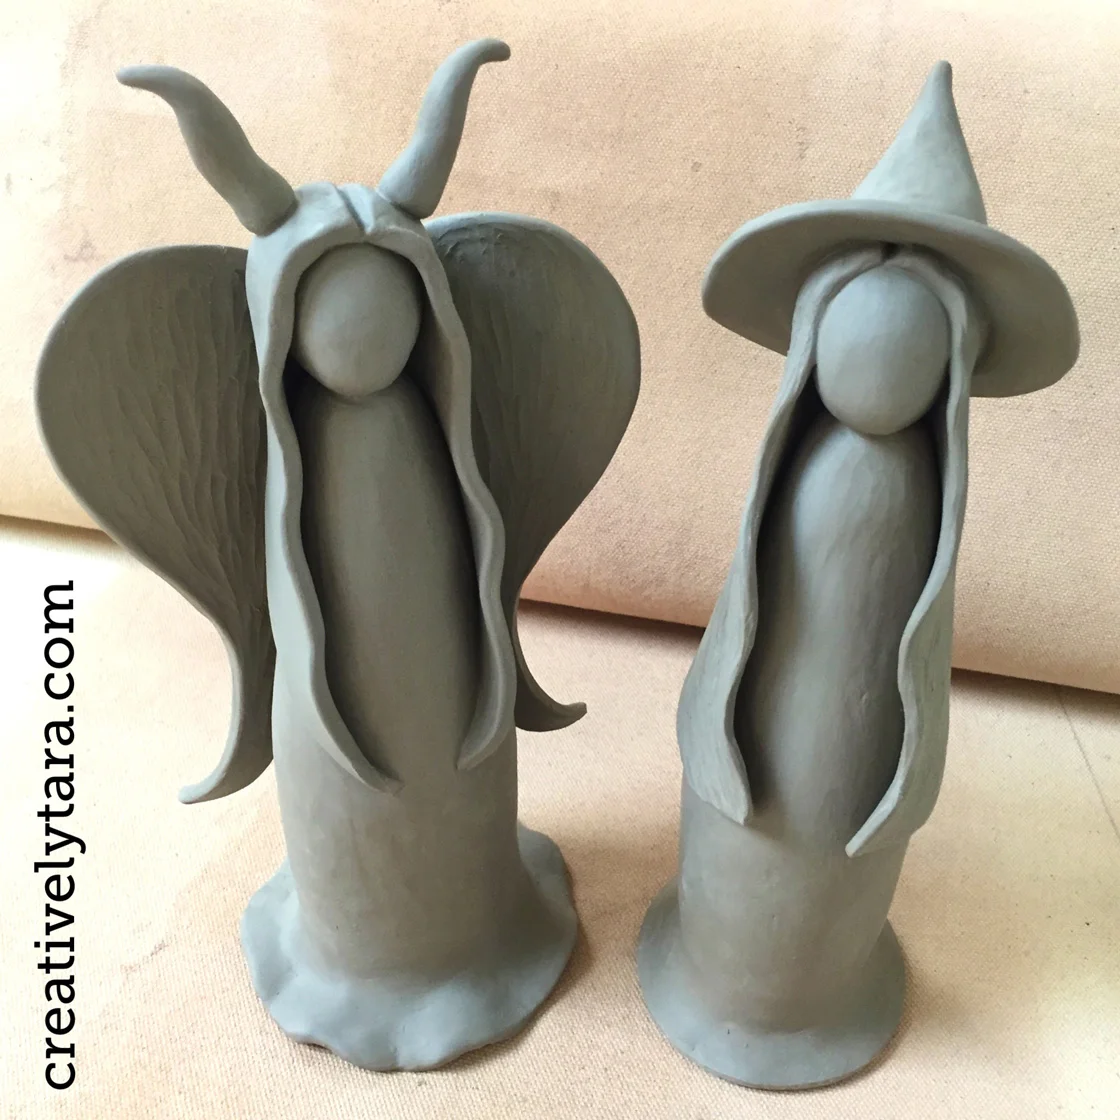
This is a picture after the first bisque firing.

I didn't take a picture after I applied the glaze because it looked a bit ugly at that point. I had put a white crackle glaze over the velvet underglazes to see how it worked. I should have applied a thicker coat of the white crackle glaze for it to do the crackle effect better. Overall I do like the way it came out.
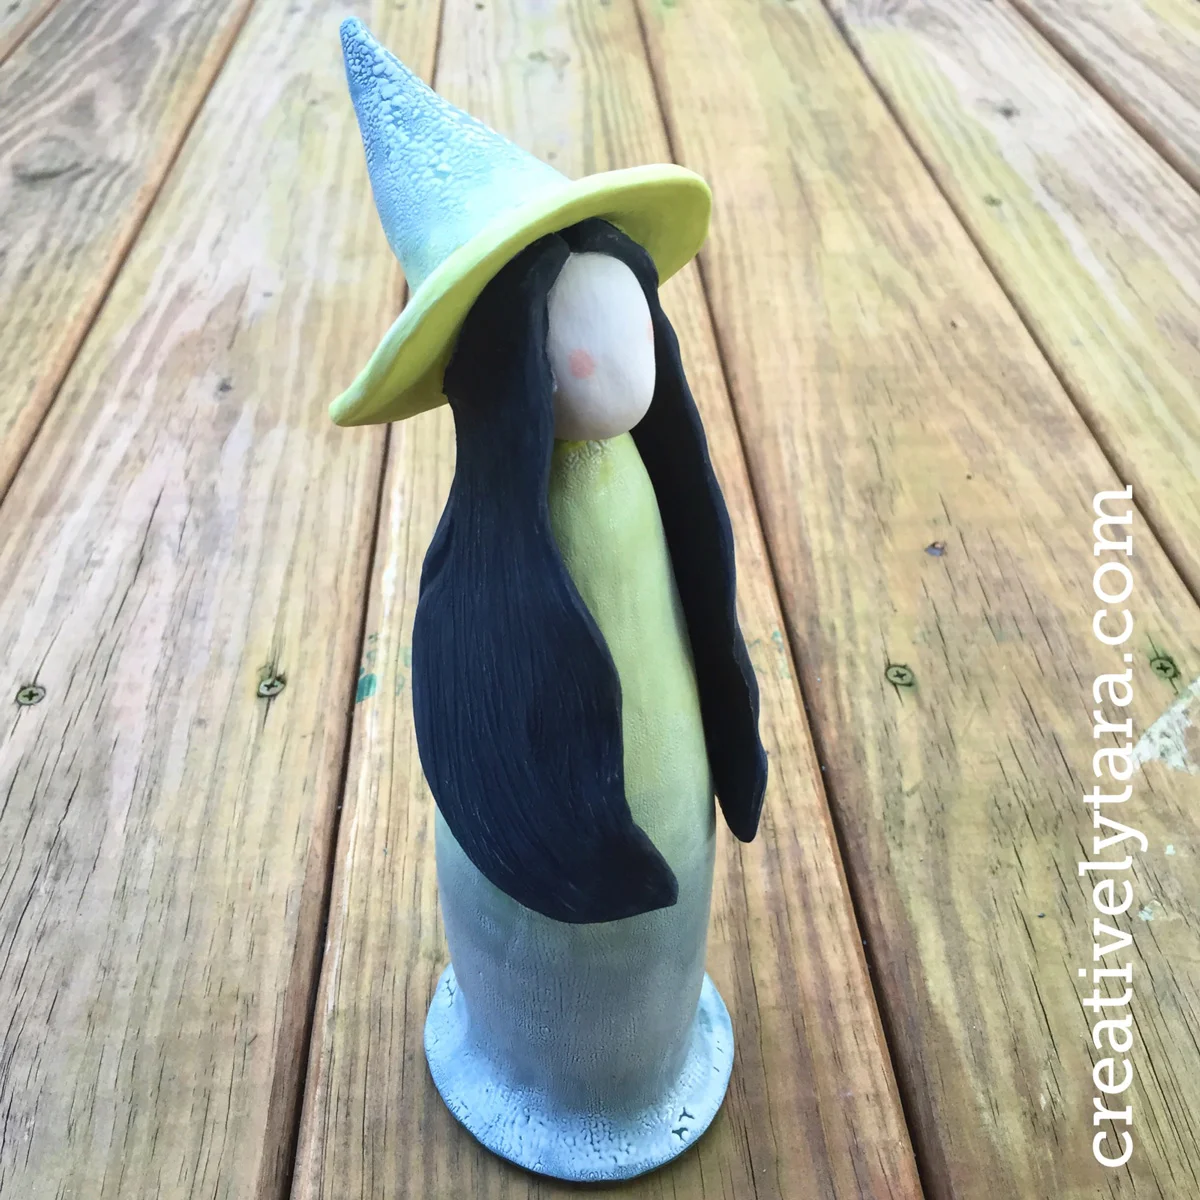
Here is a list of the materials I used:

The clay was provided by the studio and is a low fire clay.

The underglaze I used is Amaco Velvet Underglazes in colors: Dark Green, Chartreuse, Velour Black, Iceberg Blue, and Antique Ivory.

I also used the Amaco Arroya Soft White for the crackle effect on the hat and the body.

www.dickblick.com
← Weekly Adventures on the InternetTrade Show Poster Design →
 

Follow me on
My Creative Adventures!

Hi There! My name is Tara Raymo and I am a Graphic Designer and Artist from Port St. Lucie, Florida. This blog follows me on all my crazy creative adventures. I am passionate about many things including—everything Harry Potter, Halloween, Fantasy, Disney Movies, Everything Scary, and Converse!

No results found

Recent posts...

Featured
CT_DEC24_Day1_SAV1.jpg
December 20, 2024
Savannah, Georgia 2024 - Vacation
December 20, 2024
Read more →
December 20, 2024
IMG_1126.jpeg
December 5, 2023
Ireland 2023 - Cliffs of Moher, Galway, and Home
December 5, 2023
Read more →
December 5, 2023
IMG_0652.jpeg
November 28, 2023
Ireland 2023 - Cork
November 28, 2023
Read more →
November 28, 2023
Ireland 2023 - Kilkenny
November 21, 2023
Ireland 2023 - Kilkenny
November 21, 2023
Read more →
November 21, 2023
Ireland 2023 - Travel & Dublin
November 14, 2023
Ireland 2023 - Travel & Dublin
November 14, 2023
Read more →
November 14, 2023
CT_OCT22_Day1_TN1.jpg
November 16, 2022
2022 Fall Vacation - Pigeon Forge & Gatlinburg
November 16, 2022
Read more →
November 16, 2022
CT_Pin_Planchette1.jpg
December 30, 2021
Your Top Picks of 2021
December 30, 2021
Read more →
December 30, 2021
CT_DisneySprings1.jpg
November 24, 2021
2021 Fall Vacation - Orlando & Seattle
November 24, 2021
Read more →
November 24, 2021
Summer Vacation 2021
August 2, 2021
Summer Vacation 2021
August 2, 2021
Read more →
August 2, 2021
2020 Art Adventures
January 13, 2021
2020 Art Adventures
January 13, 2021
Read more →
January 13, 2021